How to Deploy Fluxomni Studio to VScale/Selectel Cloud
This guide provides the recommended method for deploying Fluxomni Studio to VScale/Selectel Cloud.
This provider is a good option for users who need servers in Moscow or St. Petersburg.
NOTE: This installation method requires accessing the server via SSH.
0. Prerequisites
You must have a registered account with VScale/Selectel Cloud and a positive account balance.
1. Create a Virtual Server
After logging in, open the “Servers” page, select “Create another instance”, and choose the Ubuntu 24.04 image.
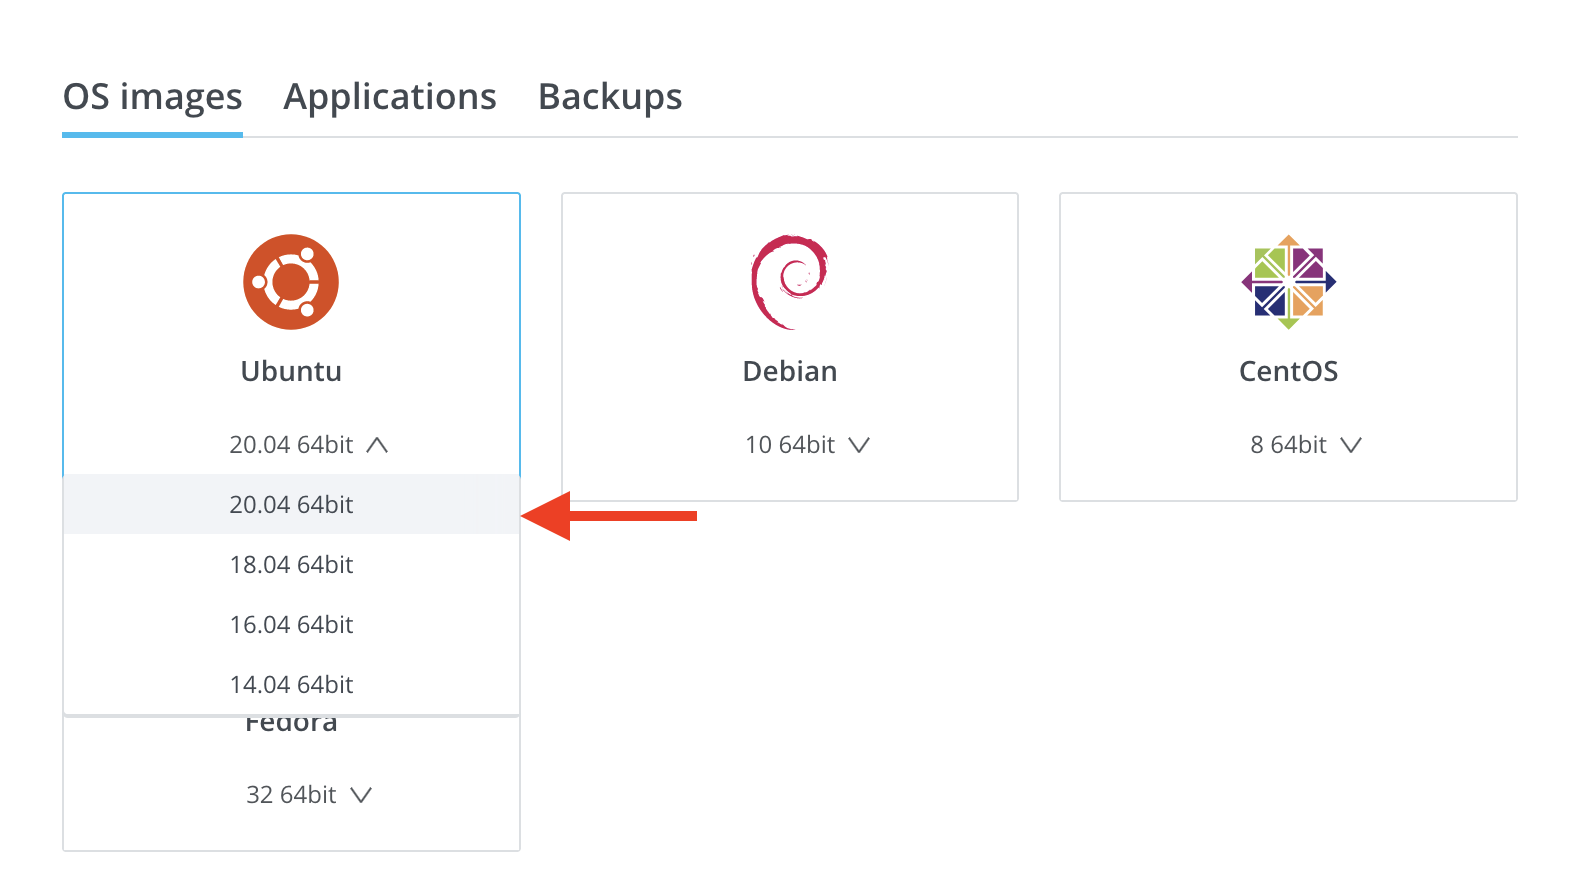
Supported platforms:
- Linux x64 / ARM64
- macOS x64 / Apple Silicon
- Windows (WSL2 Ubuntu)
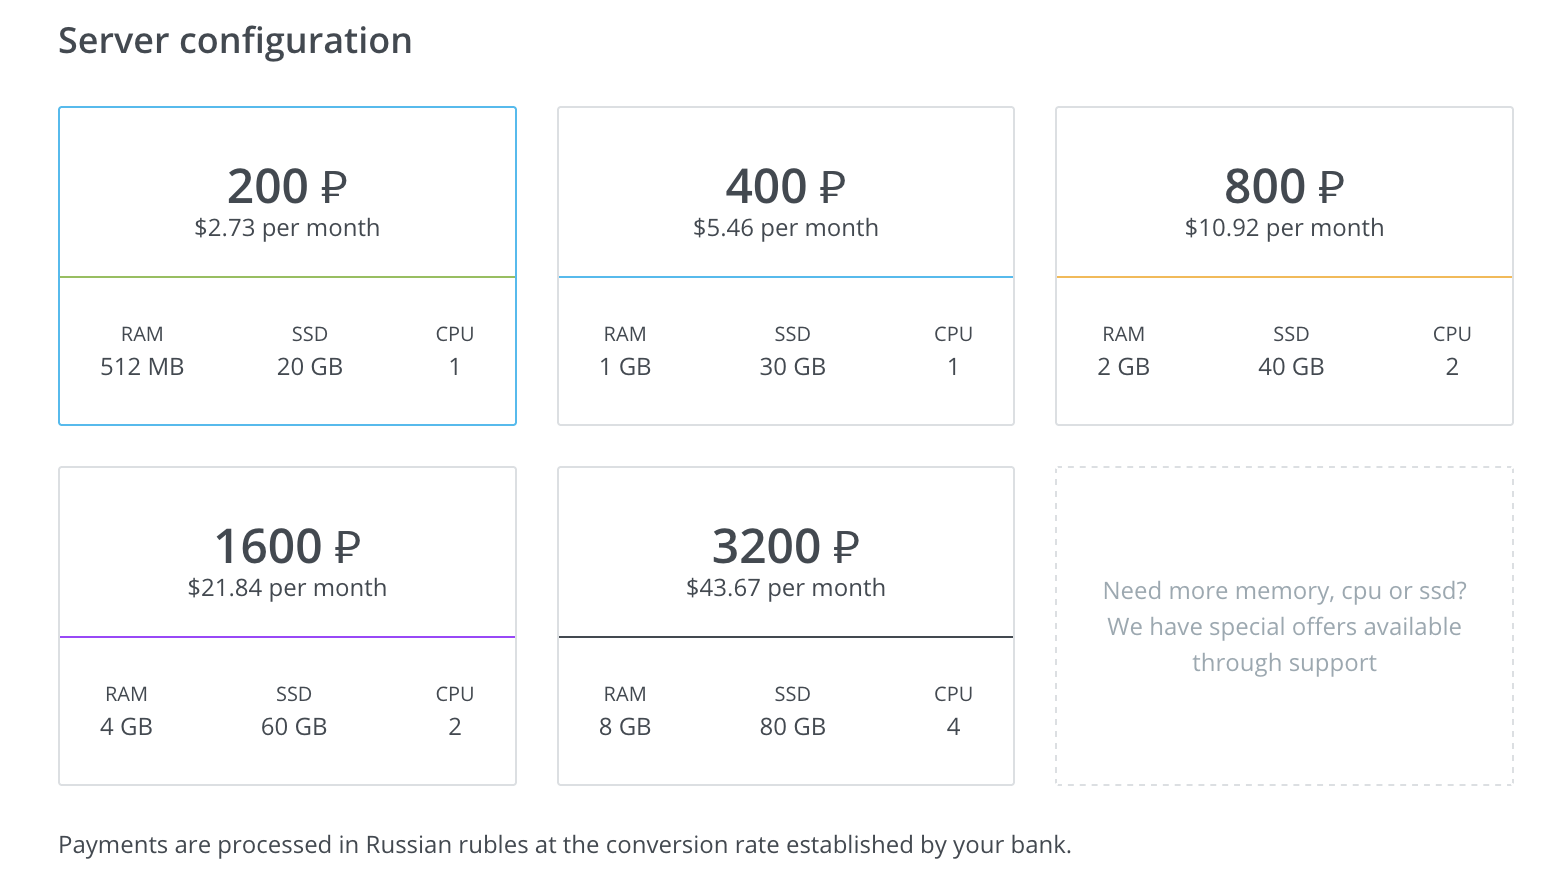
1.1. Choose a Configuration
For simple restreaming, the smallest configuration is usually sufficient. If you plan to run a large number of streams, consider a more powerful server.
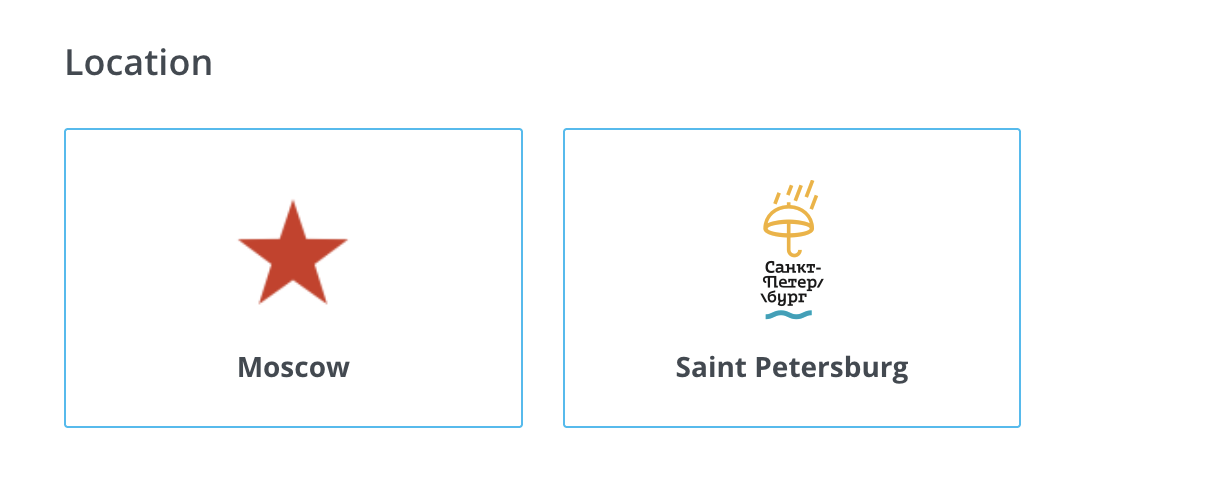
1.2. Choose a Location
Choose a location that is geographically close to both your stream source and destination endpoints to minimize latency.
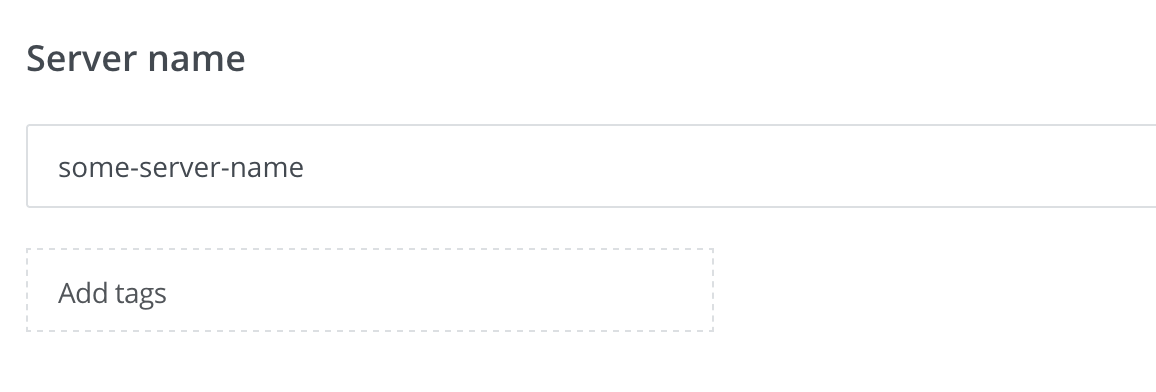
1.3. Set the Server Name
Give your server a descriptive name so you can easily identify it later.
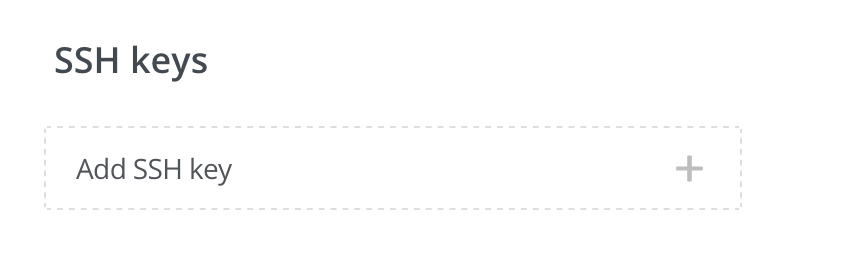
1.4. Configure SSH Access (Optional)
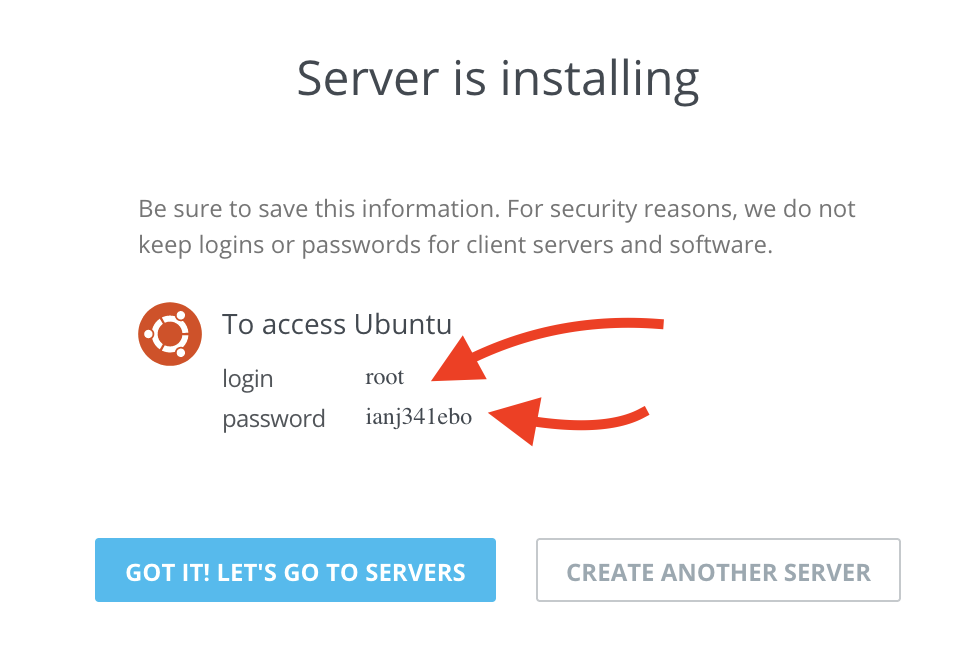
You can create the server without an SSH key, in which case a password will be provided for the root user.
If you want to use an SSH key, you can add your public key during server creation.
1.5. Create the Server
After configuring the options, click “CREATE SERVER”.
If you did not provide an SSH key, you will be given a username and password. You will need these to log in to the server.
1.6. Install Fluxomni Studio
To install Fluxomni Studio, you need to connect to the server using an SSH client and run the installation script.
Find the IP address of your server. In this example, it is 80.249.146.84.
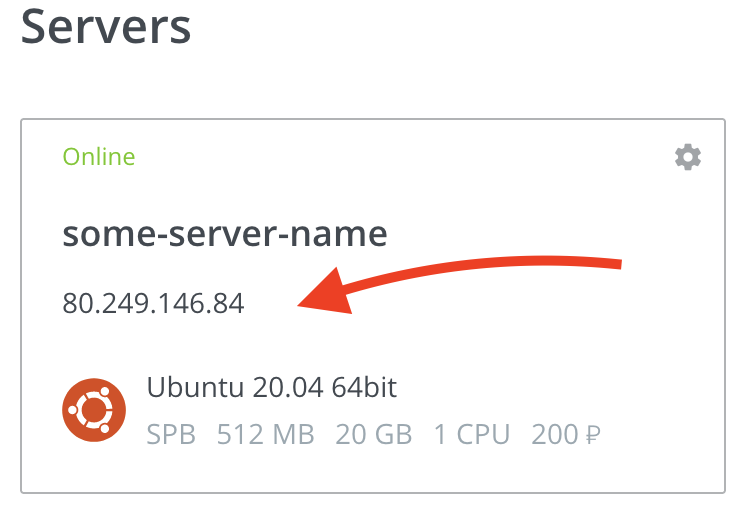
Connect to your server via SSH and run the following command. Replace your_server_ip with the actual IP address of your server.
ssh root@your_server_ip "curl -fsSL https://install.fluxomni.io | WITH_INITIAL_UPGRADE=1 WITH_UFW=1 bash -s"
If you are using password authentication, you will be prompted to enter the password from the previous step.
2. Access Fluxomni Studio
After the installation script is finished (it may take 5-15 minutes), you can access Fluxomni Studio by navigating to the server’s IP address in your web browser.
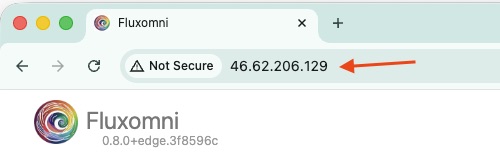
Current releases serve the operator UI from the frontend container.
Use /routes for route management and /fleet to inspect attached media nodes.
NOTE: By default, Fluxomni Studio is served over
http://. For production use, it is highly recommended to set up a domain name and configure a reverse proxy (e.g., Nginx or Caddy) to enablehttps://for secure access.
Next, complete First Stream to create a protected operator account and verify one live route.