How to Deploy Fluxomni Studio to Hetzner Cloud
This guide provides a common and recommended way to deploy Fluxomni Studio as a standalone server on Hetzner Cloud.
0. Prerequisites
You should have a registered account on Hetzner Cloud with a payment method attached and a Project created.
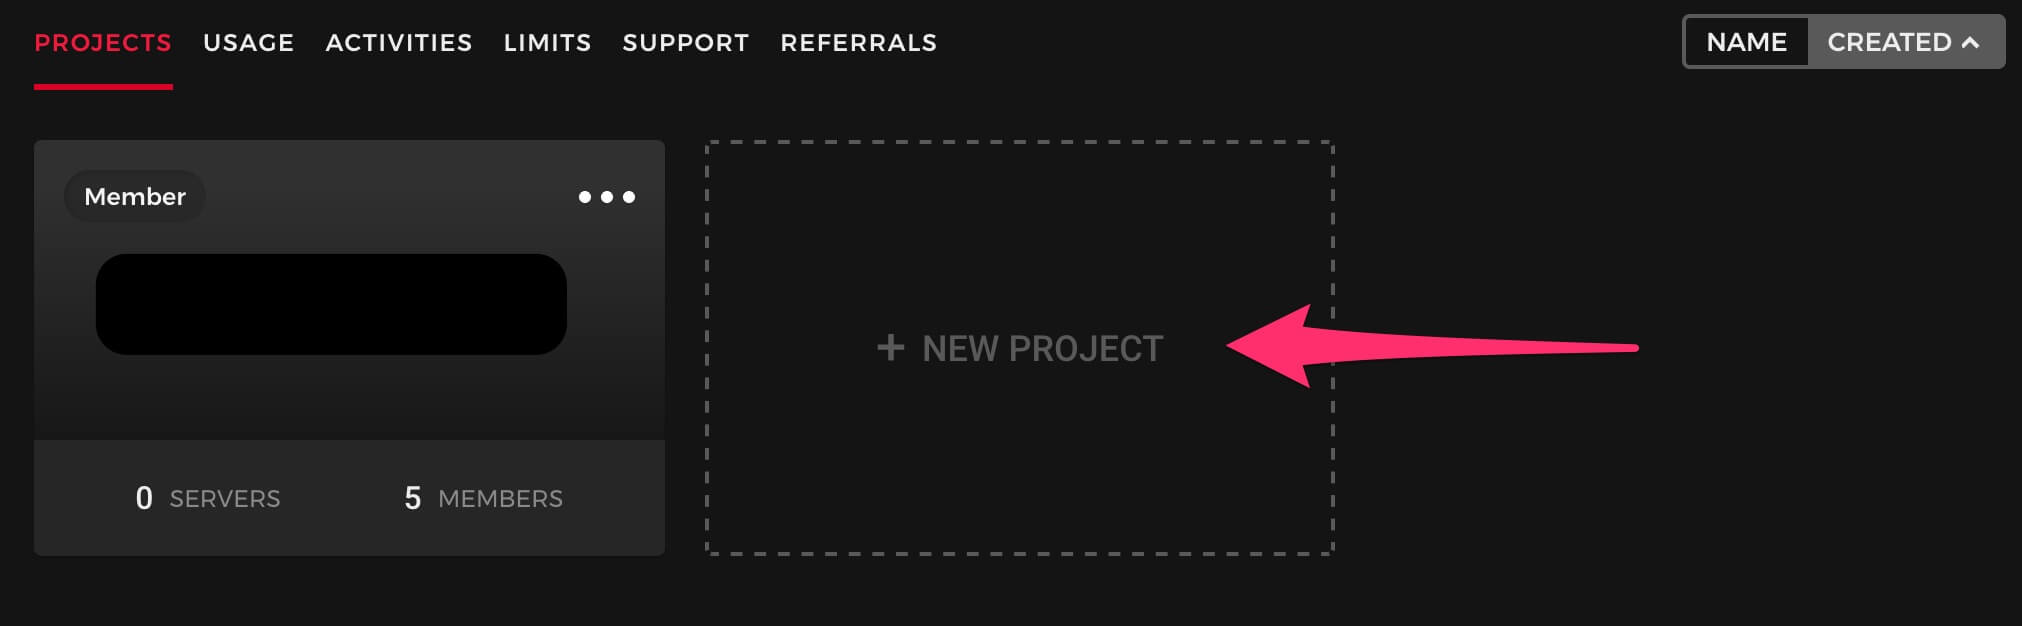
1. Create Server
From your project dashboard, click to create a new server.
1.1. Choose a Location
Select a location that is geographically close to both your stream source and your destination endpoints to minimize latency.

1.2. Choose an Image
Select Ubuntu 24.04.
Supported platforms:
- Linux x64 / ARM64
- macOS x64 / Apple Silicon
- Windows (WSL2 Ubuntu)
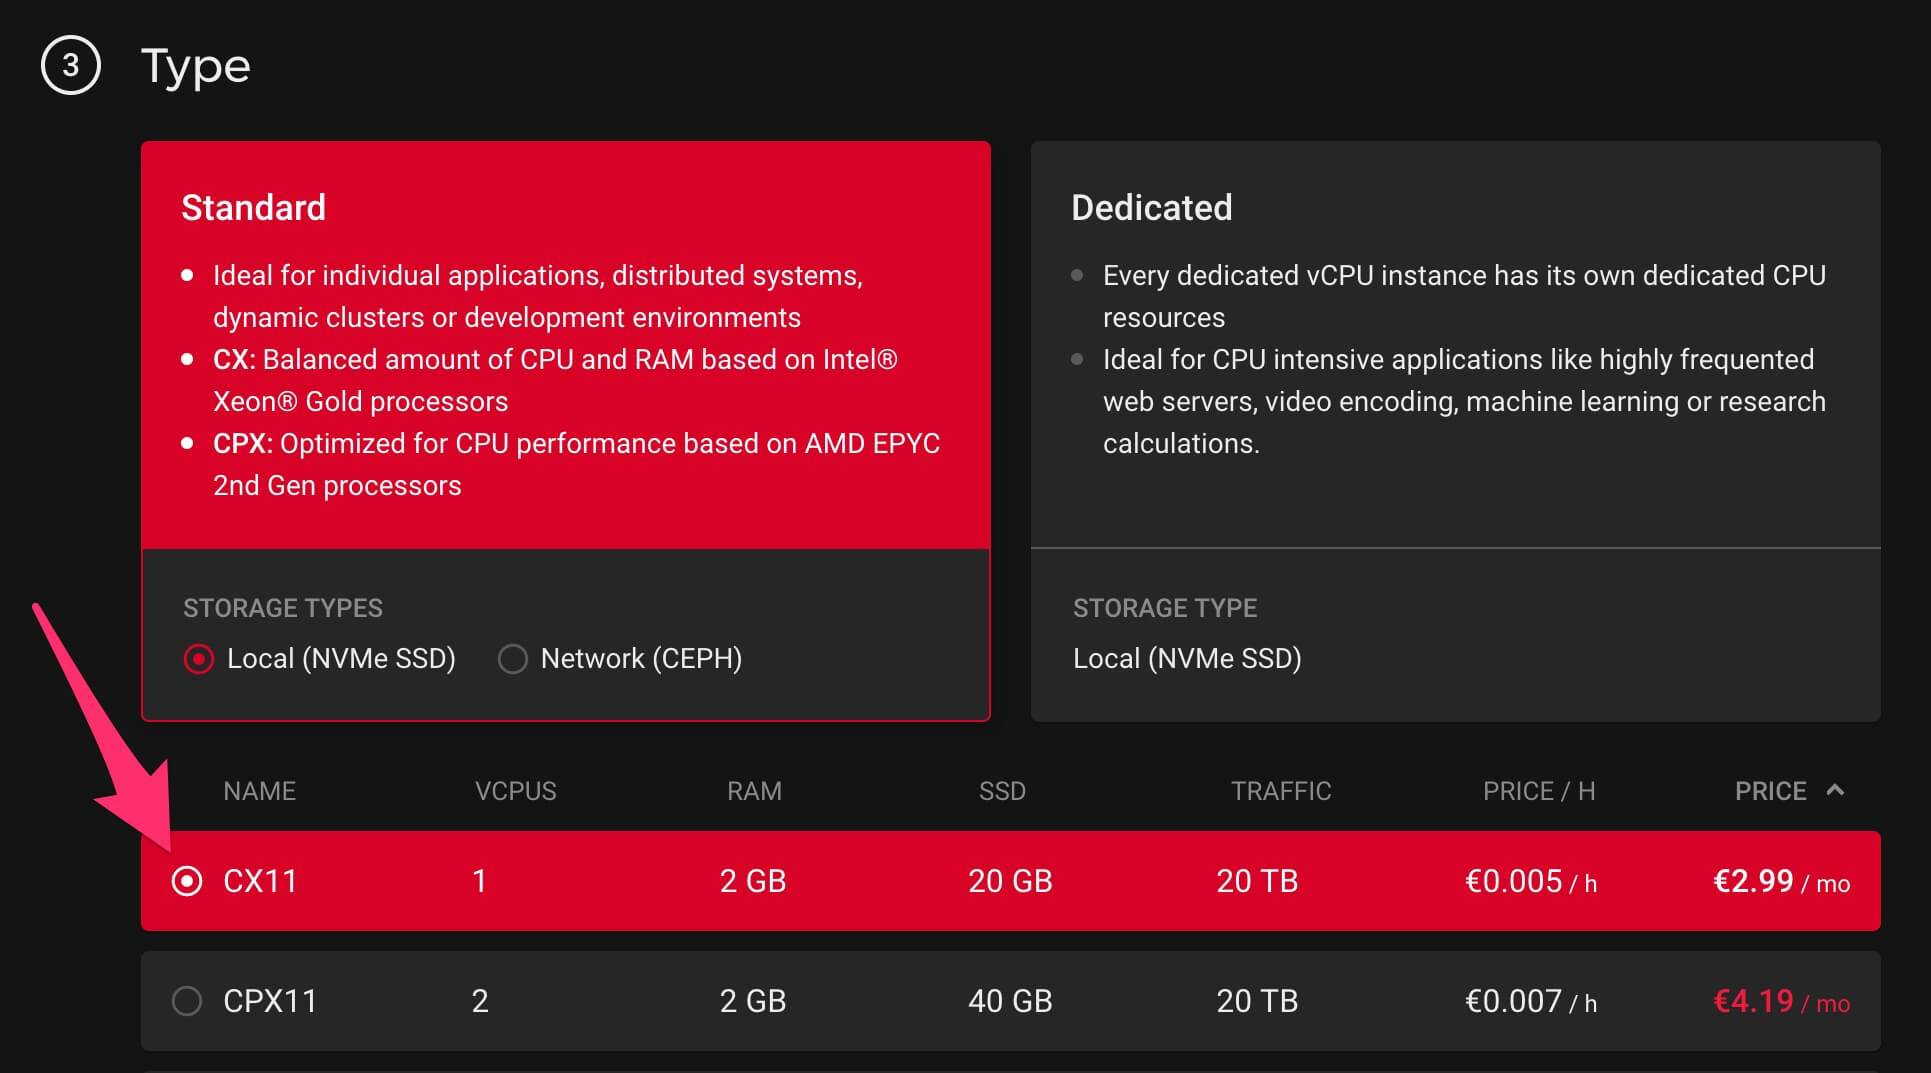
1.3. Choose a Type
For simple restreaming, the cheapest plan (e.g., CX11) should be sufficient. If you plan to run a large number of streams or require transcoding, consider a more powerful server type.
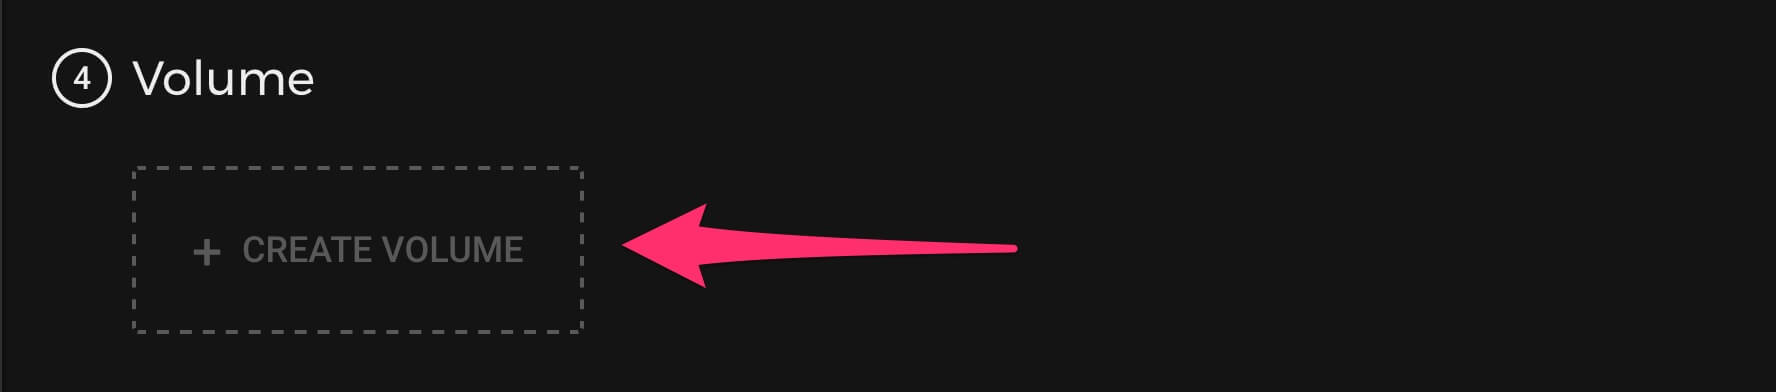
1.4. Add Volume (Optional)
NOTE: Skip this step if you do not plan to record streams to files.
If you intend to record live streams, you may need more disk space than the default provided. You can attach an external volume to the server.
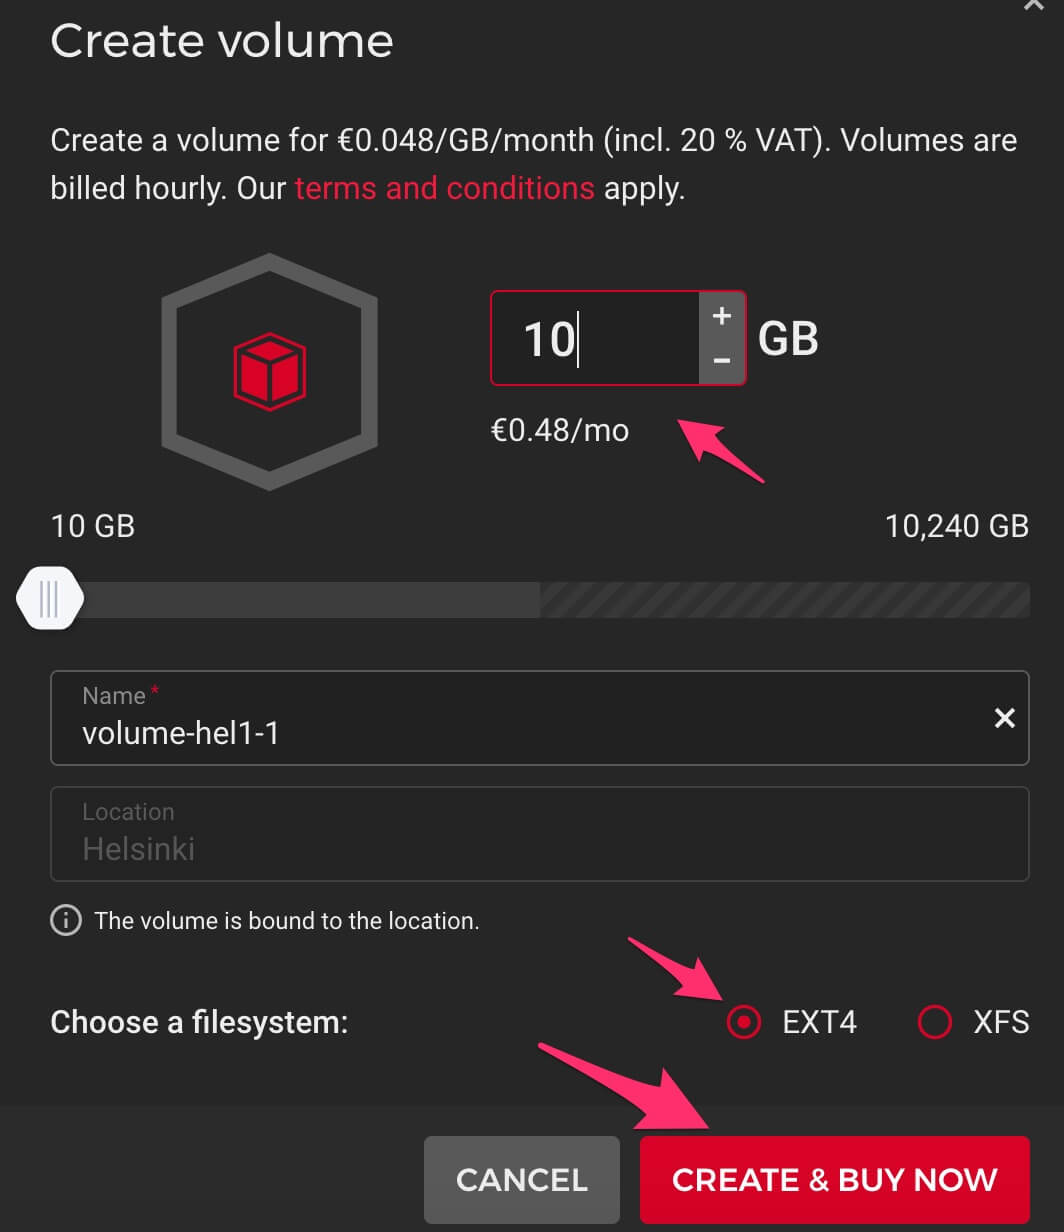
The installer will automatically detect and use the attached volume for Fluxomni Studio.
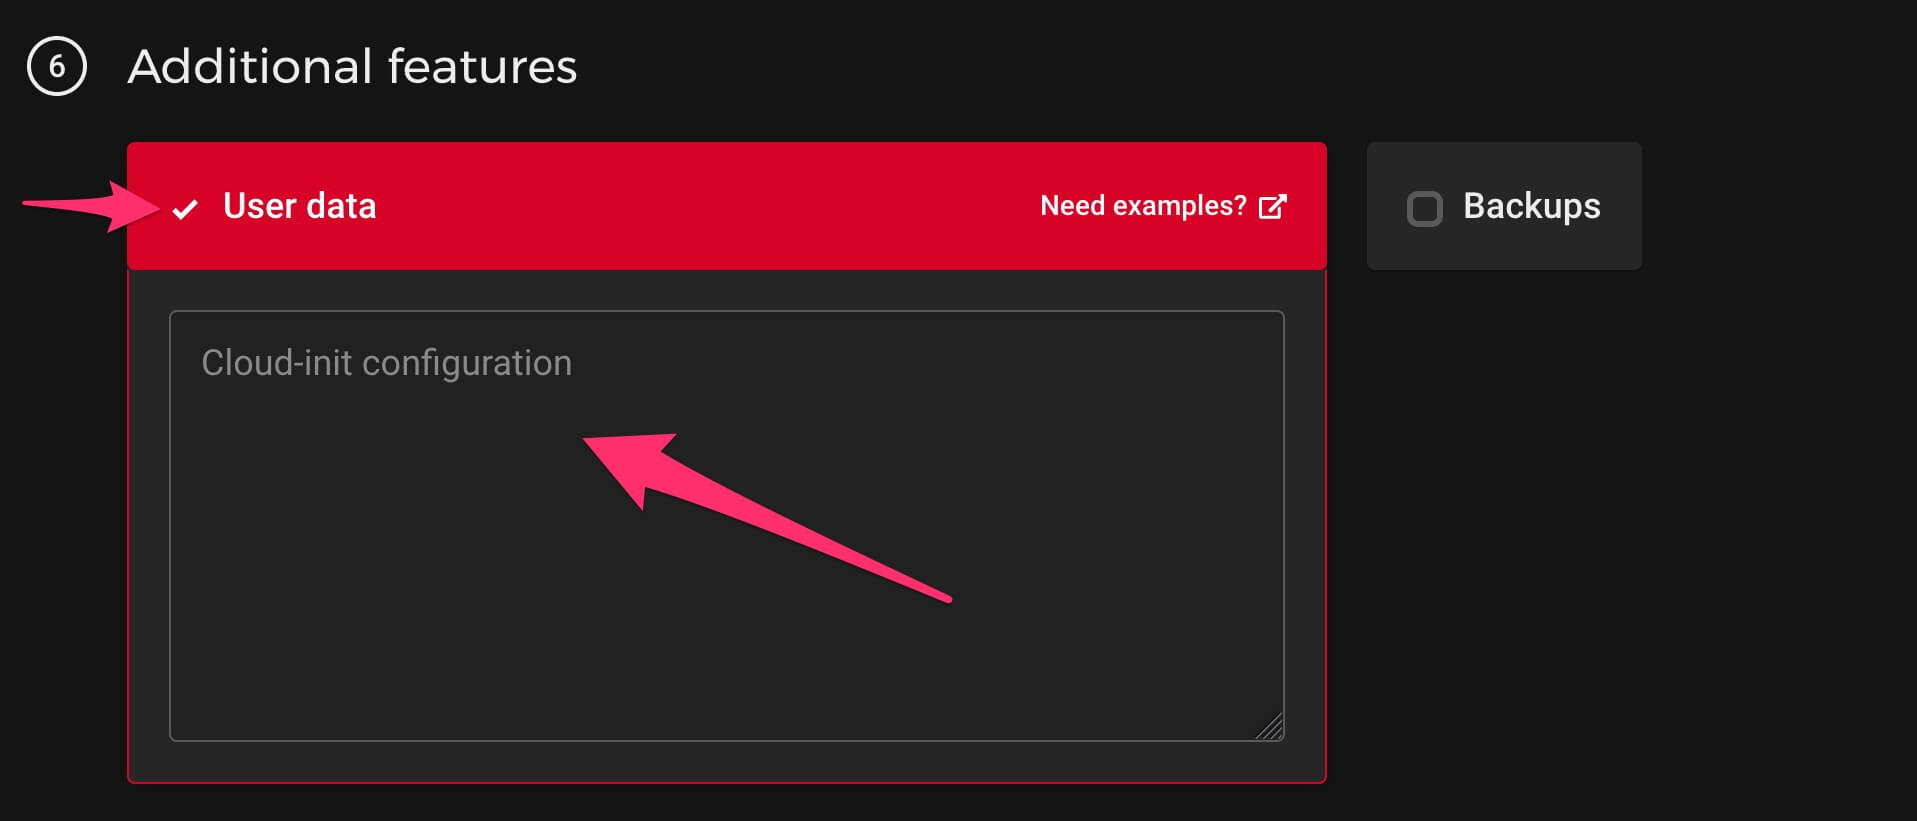
1.5. Add User Data
To automatically install Fluxomni Studio on the new server, paste the following script into the User data field. This runs once when the server is first created and also configures a firewall with the required ports.
#!/bin/bash
curl -fsSL https://install.fluxomni.io | WITH_UFW=1 bash -s
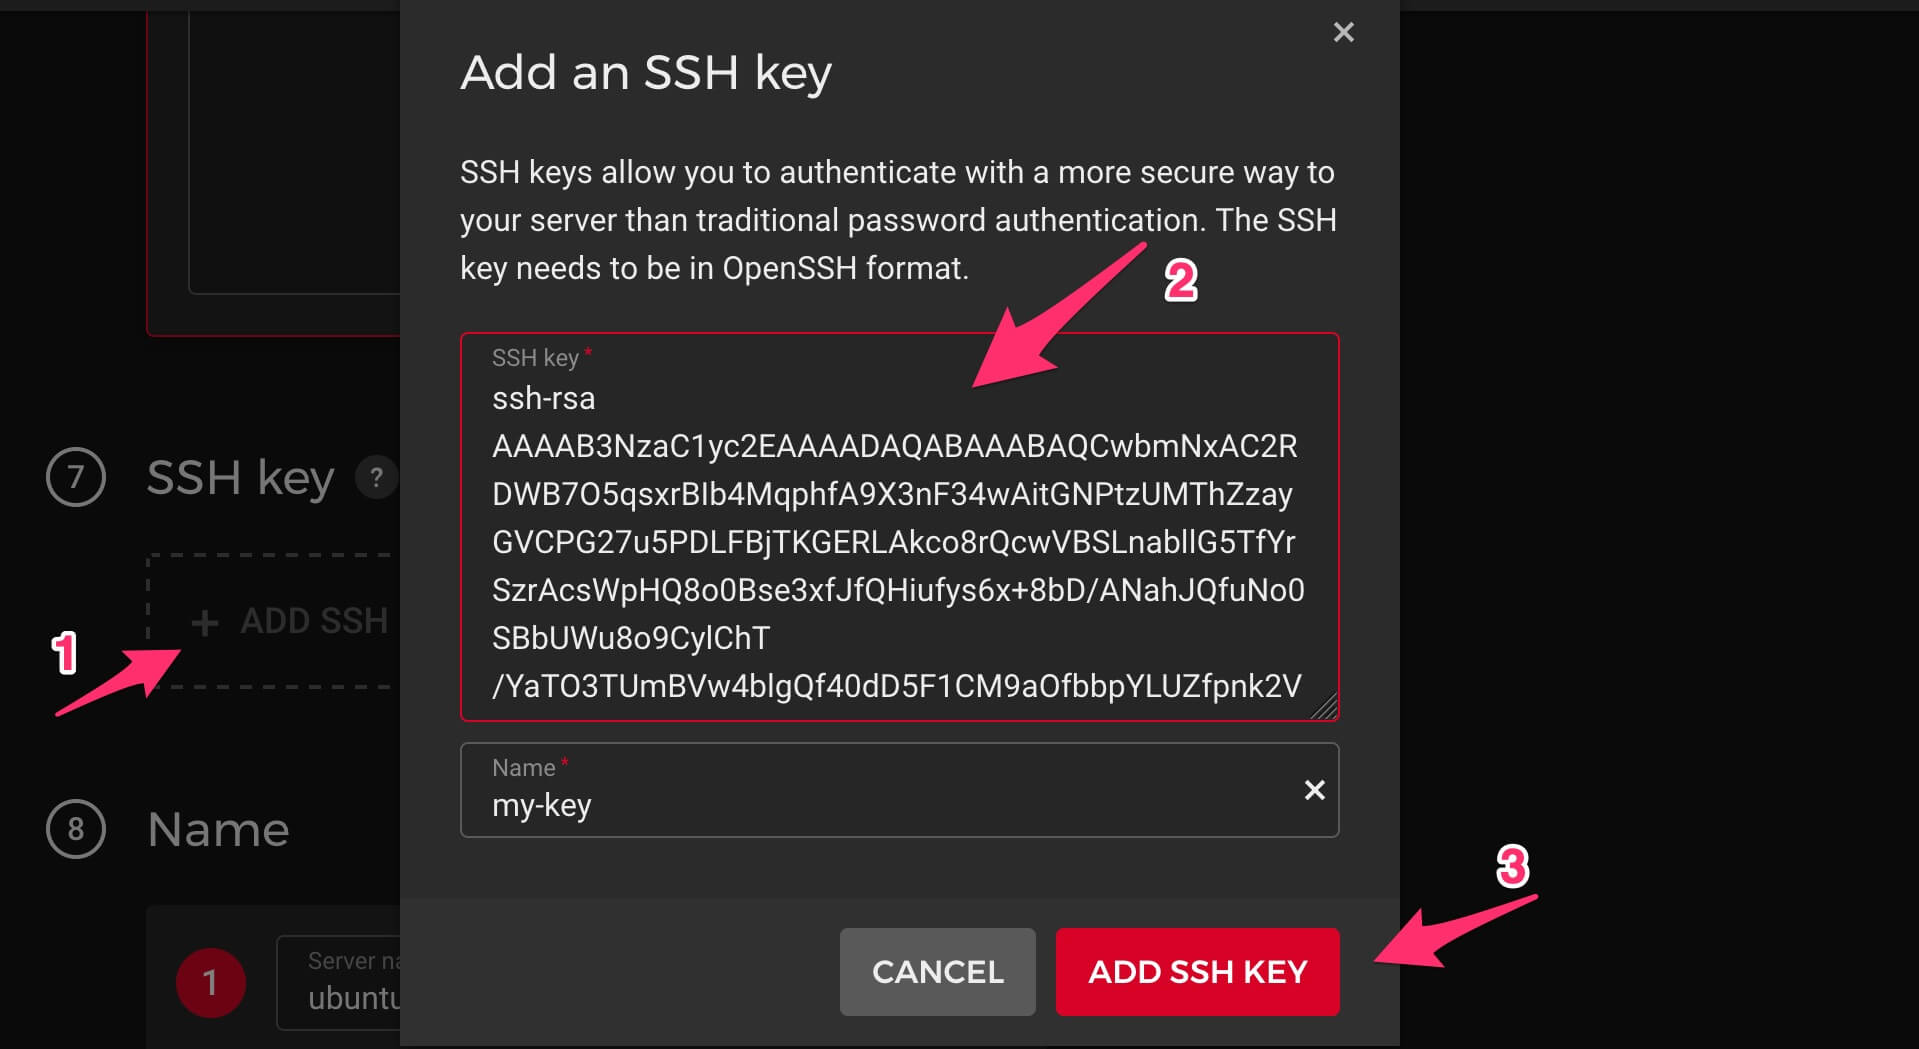
1.6. Add an SSH Key
Hetzner Cloud requires an SSH key to access the server. This is for managing the server itself; it is not required for using the Fluxomni Studio application.
1.7. Finalize and Create
Choose a name for your server to easily identify it later. You can leave the other settings at their defaults.

Click Create & Buy Now to begin provisioning.
2. Access Fluxomni Studio
After you launch the server, allow 5-15 minutes for the provisioning and installation to complete.
You can find the IP address of your server in the Hetzner Cloud console.

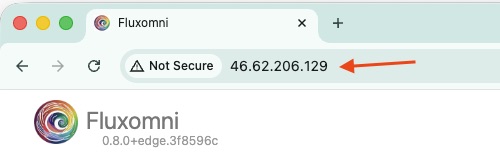
Open your web browser and navigate to the IP address of the server.
Current releases serve the operator UI from the frontend container.
Use /routes for route management and /fleet to inspect attached media nodes.
NOTE: By default, Fluxomni Studio is served over
http://. For production use, it is highly recommended to set up a domain name and configure a reverse proxy (e.g., Nginx or Caddy) to enablehttps://for secure access.
Next, complete First Stream to create a protected operator account and verify one live route.